To set up an email account in the email client Thunderbird, please see the following steps.
If you do not know your current email password, please visit this link for instructions on how to reset it.
You can download Thunderbird using this link.
If it is your first time opening Thunderbird you will automatically be sent to the Account Setup screen, If you have closed out of this screen or already have another email address configured in Thunderbird you can always, click on the hamburger menu icon ![]() in the top right > New > Existing Mail Account.
in the top right > New > Existing Mail Account.
First, enter your general account information:
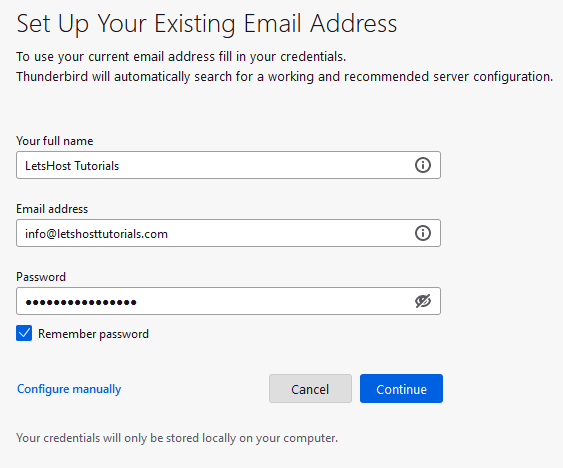
- Your Full Name: Your name
- Email address: The full email address - (Replace info@letshosttutorials.com with your actual email address)
- Password: The email account password
Make sure ‘Remember Password’ is checked and click ‘Configure Manually’.
The Manual Configuration settings will then appear:
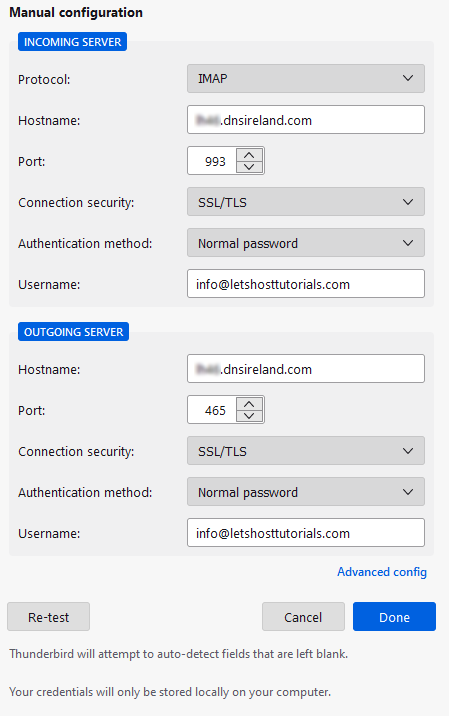
Incoming Server Settings:
- Protocol: IMAP (recommended) - Please use this link for more information on choosing which protocol to use.
- Hostname: (in the form ‘LHxx.dnsireland.com’) - Please use this link to find the Hostname for your domain name.
- Port: 993 (IMAP) - Port: 995 (POP)
- Connection security: SSL/TLS
- Authentication: Normal Password
- Username: Your Full Email Address - (Replace info@letshosttutorials.com with your actual email address)
Outgoing Server Settings:
- Hostname: (in the form ‘LHxx.dnsireland.com’) - Please Click Here to find the Hostname for your domain name.
- Port: 465 (IMAP and POP)
- Connection security: SSL/TLS
- Authentication: Normal Password
- Username: Full Email Address
Click Done.
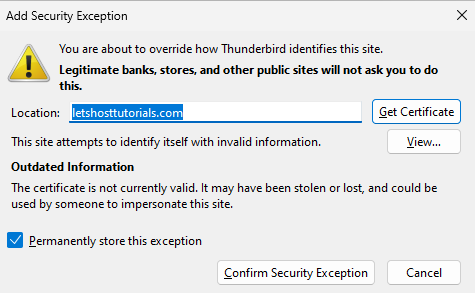
You may receive a pop-up requesting to add a Security Exception (as below).
Just make sure ‘Permanently store this exception’ is checked and click ‘Confirm Security Exception’
After you confirm the exception you will see the Inbox tab in the top left, you can close the Account Setup tab now as well.
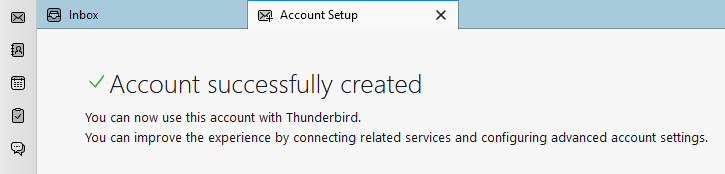
You may also need to click on the Inbox on the left-hand side to sync your mail if your mail does not sync automatically.
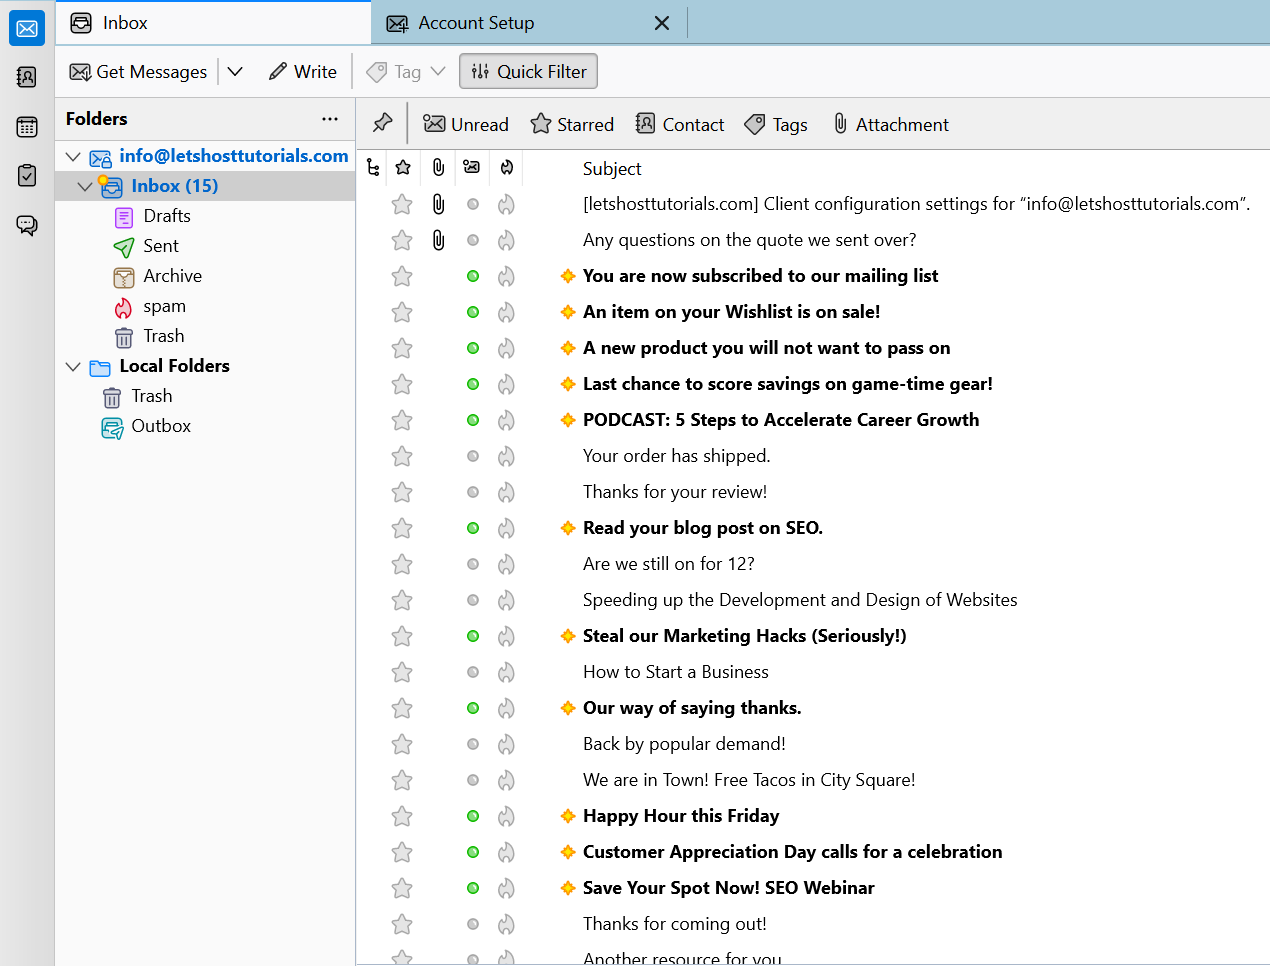
The above image was populated using dummy data for the purposes of this tutorial.
You may need to wait some time for all your mail to arrive if it is a larger email account but you should now have fall access to be able to send and receive your mail.
If you have any questions on the above, please do not hesitate to 'Open a Ticket' and we will be happy to advise further.